# 12_React 路由跳转
📢 大家好,我是Milo
📢 这篇文章是学习 React 中 React 路由跳转的学习笔记
# 1. push 与 replace 模式
# 1 push
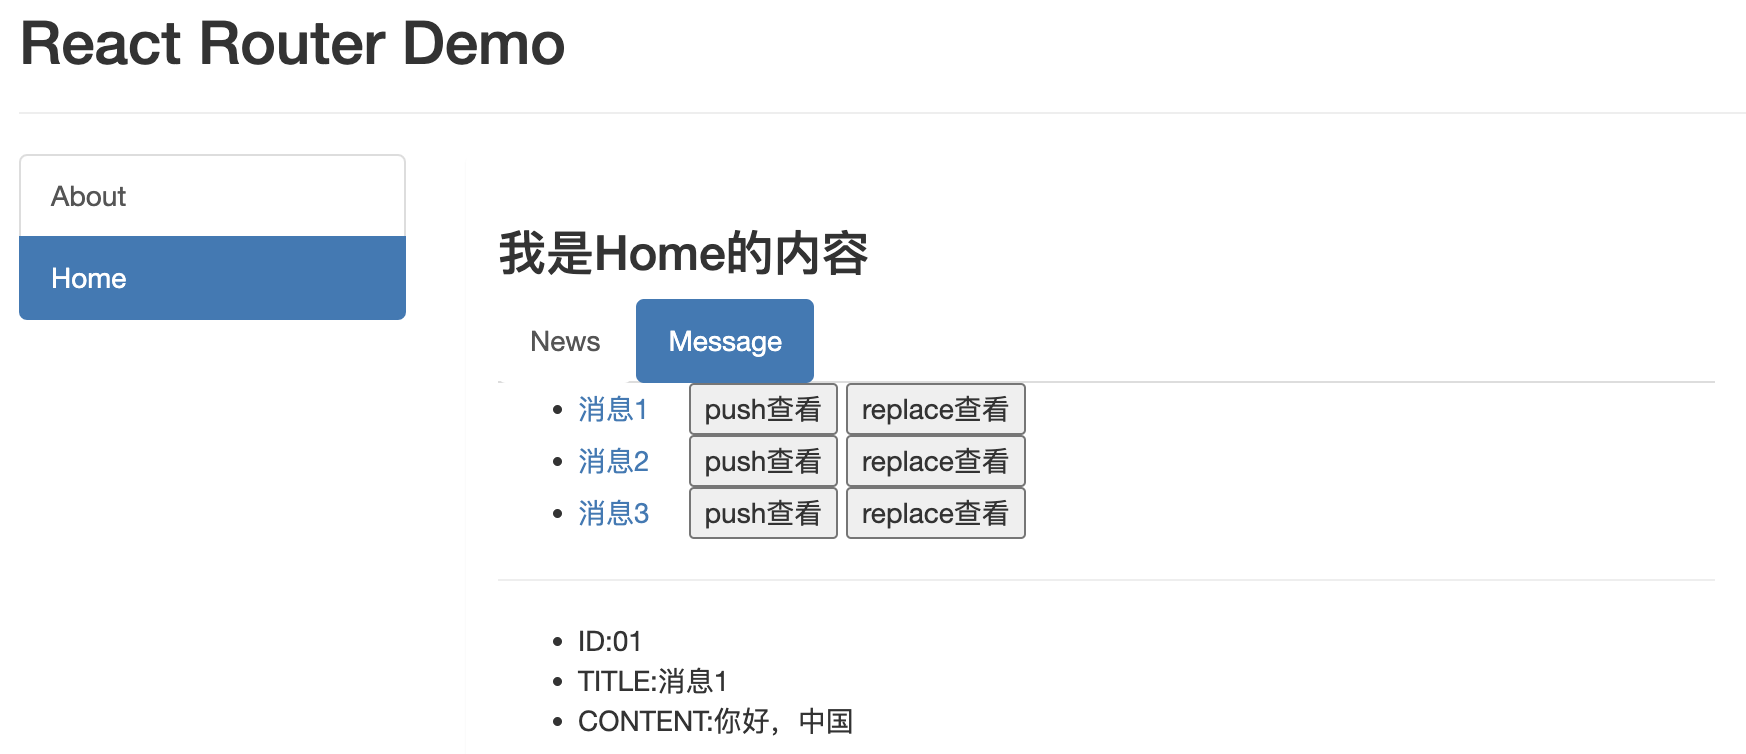
默认情况下,开启的是 push 模式,也就是说,每次点击跳转,都会向栈中压入一个新的地址,在点击返回时,可以返回到上一个打开的地址,

就像上图一样,我们每次返回都会返回到上一次点击的地址中
# 2 replace
当我们在读消息的时候,有时候我们可能会不喜欢这种繁琐的跳转,我们可以开启 replace 模式,这种模式与 push 模式不同,它会将当前地址替换成点击的地址,也就是替换了新的栈顶
我们只需要在需要开启的链接上加上 replace 即可
<Link replace to={{ pathname: '/home/message/detail', state: { id: msgObj.id, title: msgObj.title } }}>{msgObj.title}</Link>

# 2. 编程式路由导航
# 1 push 和 replace
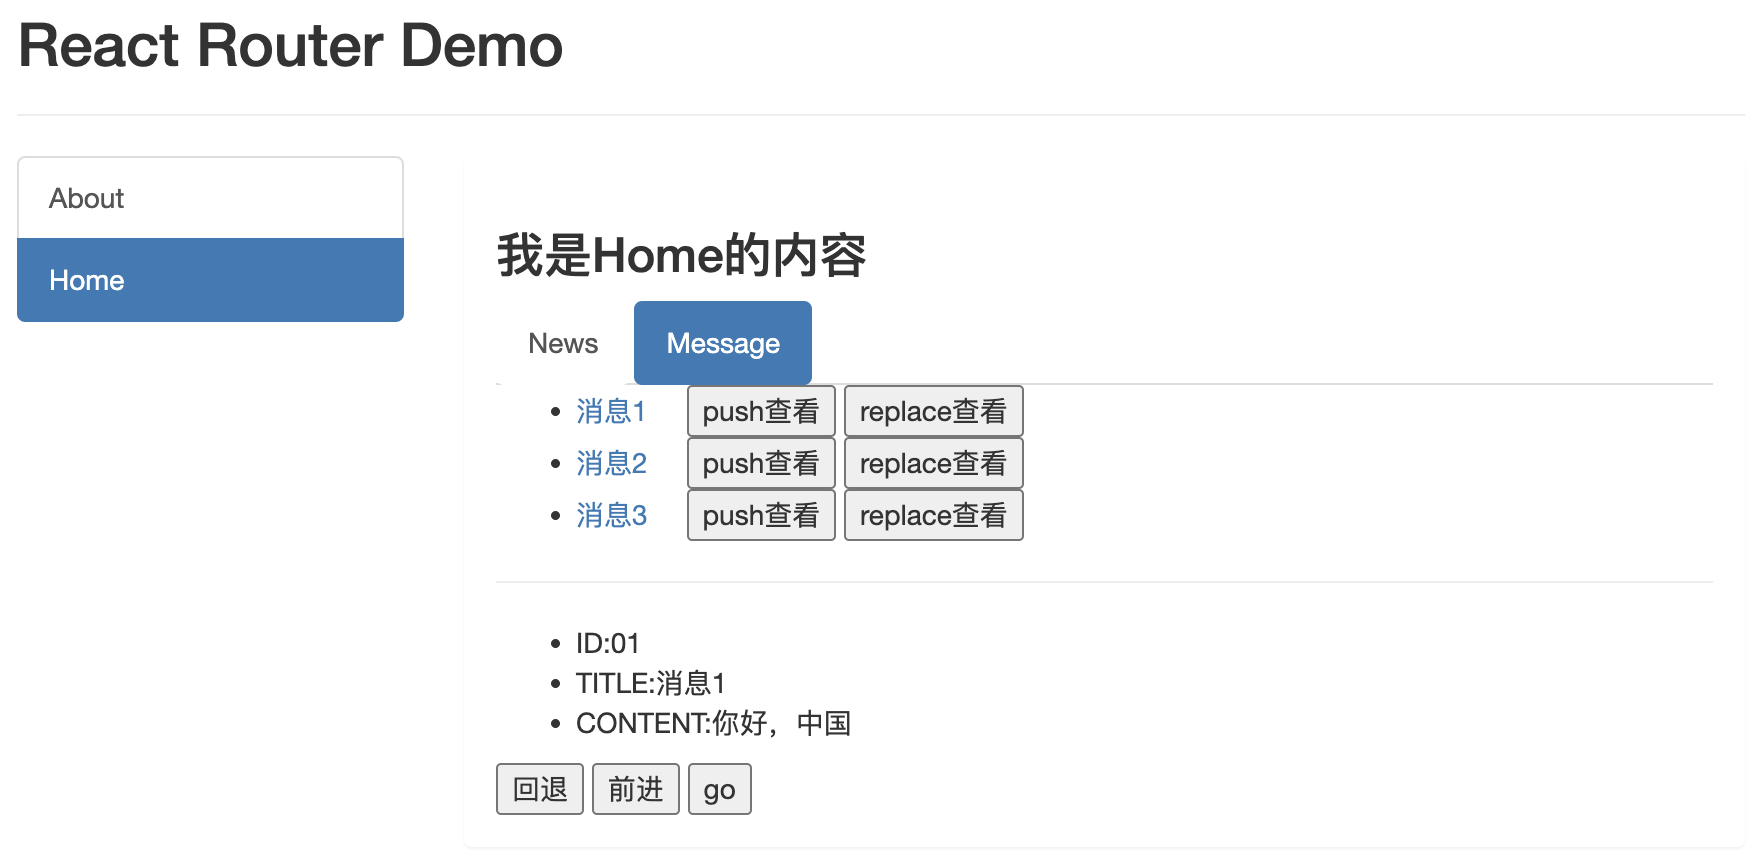
我们可以采用绑定事件的方式实现路由的跳转

我们在 Message 组件的 return 下,map 遍历里创建两个按钮,并在按钮上绑定 onClick 事件
<button onClick={()=> this.pushShow(msgObj.id,msgObj.title)}>push查看</button>
<button onClick={()=> this.replaceShow(msgObj.id,msgObj.title)}>replace查看</button>
2
当事件触发时,我们执行回调 pushShow 和 replaceShow
pushShow = (id,title) => {
  // push跳转+携带params参数
  this.props.history.push(`/home/message/detail/${id}/${title}`)
  // push跳转+携带params参数
  this.props.history.push(`/home/message/detail?id=${id}&title=${title}`)
  // push跳转+携带state参数
  this.props.history.push(`/home/message/detail`,{id,title})
}
replaceShow = (id,title) => {
  // replace跳转+携带params参数
  this.props.history.replace(`/home/message/detail/${id}/${title}`)
  // replace跳转+携带query参数
  this.props.history.replace(`/home/message/detail?id=${id}&title=${title}`)
  // replace跳转+携带state参数
  this.props.history.replace(`/home/message/detail`,{id,title})
}
2
3
4
5
6
7
8
9
10
11
12
13
14
15
16
⚠️注意事项:
- 回调函数接收两个参数,用来仿制默认的跳转方式,第一个是点击的
id第二个是标题title - 我们在回调中,调用
this.props.history对象下的push和replace方法 - 共有三种携带参数的方式,
params、query和state,写法各不相同,注册路由、匹配路由以及接收参数也需要随之改变
# 2 go、goBack 和 goForward
我们可以借助 this.props.history 身上的 API 实现路由的跳转,例如 go、goBack 、goForward

我们在 Message 组件的 return 下,注册路由 Route 标签后面,创建三个按钮并绑定相应的事件
<button onClick={this.back}>回退</button>
<button onClick={this.forward}>前进</button>
<button onClick={this.go}>go</button>
2
3
当事件触发时,我们执行回调 back 、forward 和 go ,
back = ()=>{this.props.history.goBack();}
forward = ()=>{this.props.history.goForward();}
go = ()=>{this.props.history.go(-2);}
2
3
我们在回调中,调用 this.props.history 对象下的 push 和 replace 方法
# 3 延迟跳转
想在 News 组件加一个延迟跳转,2秒后自动跳转到 Message
// News/index.jsx
componentDidMount(){
    setTimeout(()=>{
        this.props.history.push('/home/message')
    },2000)
}
2
3
4
5
6
在 componentDidMount() 钩子下用一个定时器,2秒后调用 this.props.history.push ,实现跳转

# 总结
借助 this.props.history对象上的 API 操作路由跳转、前进、后退
this.props.history.push()this.props.history.replace()this.props.history.goBack()this.props.history.goForward()this.props.history.go()
# 3. withRouter
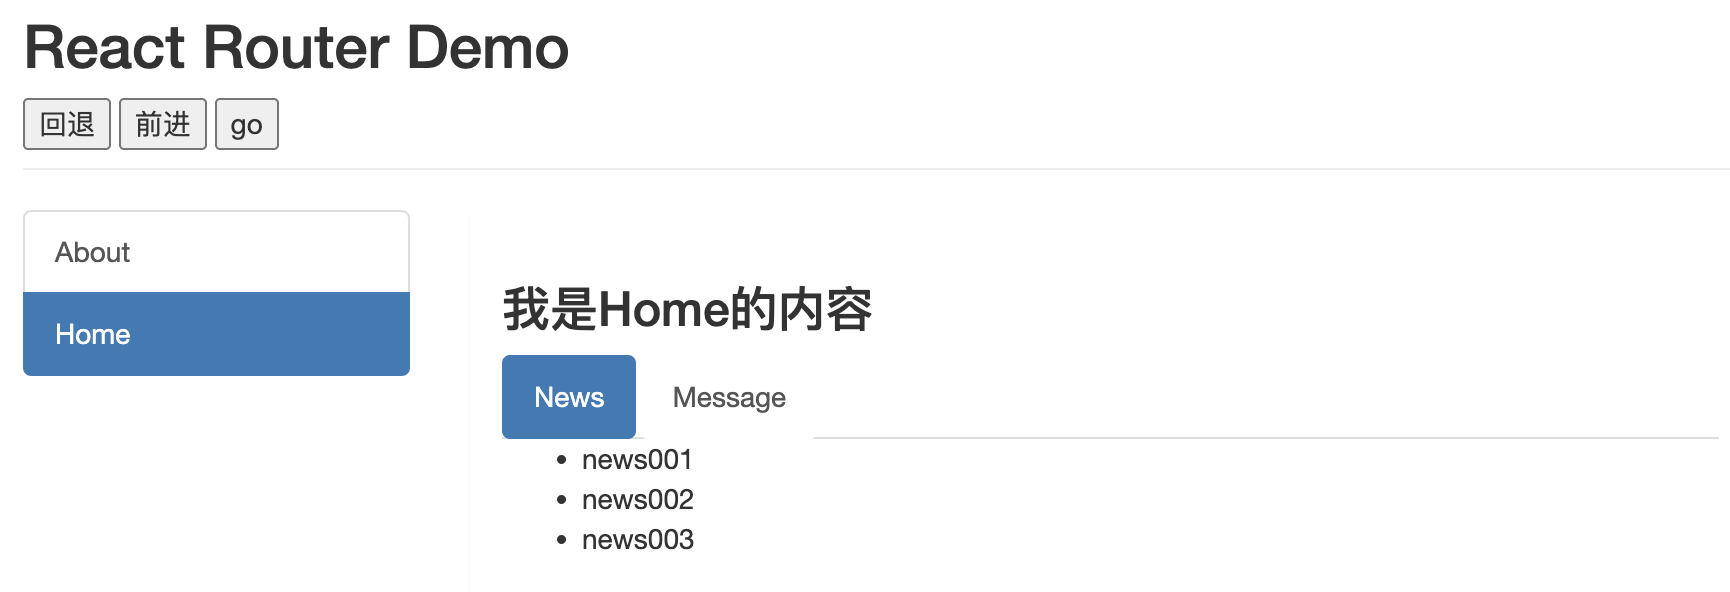
有这样一个需求:在Header组件里加三个按钮实现编程式路由跳转

# 1 创建按钮并绑定事件
我们在 Header 组件的 return 下,创建三个按钮并绑定相应的事件
<button onClick={this.back}>回退</button>
<button onClick={this.forward}>前进</button>
<button onClick={this.go}>go</button>
2
3
当事件触发时,我们执行回调 back 、forward 和 go ,
back = ()=>{this.props.history.goBack();}
forward = ()=>{this.props.history.goForward();}
go = ()=>{this.props.history.go(-2);}
2
3
我们在回调中,调用 this.props.history 对象下的 push 和 replace 方法
⚠️注意:发现报错,因为采用的是一般组件,没有 history 对象!!
# 2 验证原因
当我们需要在页面内部添加回退前进等按钮时,由于这些组件大多通过一般组件的方式去编写,因此会遇到一个问题,无法获得 history 对象,这正是因为我们采用的是一般组件造成的。
打印 Header 组件收到的 props 为空
console.log('Header组件收到的props是',this.props) //Header组件收到的props是 {}
只有路由组件才能获取到 history 对象,因此我们需要如何解决这个问题呢
# 3 withRouter 包装一般组件
我们可以利用 react-router-dom 下的 withRouter 函数来对我们导出的 Header 组件进行包装,这样我们就能获得一个拥有 history 对象的一般组件
我们需要对哪个组件包装就在哪个组件下引入
// Header/index.jsx
import { withRouter } from 'react-router-dom'
2
在最后导出对象时,用 withRouter 函数对 index 进行包装
// 原来的Header不暴露
class Header extends Component {
        ... ... ...
}
// 暴露用 withRouter 函数包装过的Header
export default withRouter(Header)
2
3
4
5
6
⚠️注意:
withRouter可以加工一般组件,让一般组件具备路由组件所特有的APIwithRouter的返回值是一个新组件
这样就能让一般组件获得路由组件所特有的 API
# 4. BrowserRouter 和 HashRouter 的区别
# 1 底层实现原理不一样
BrowserRouter 是用的是 H5 的 history API,不兼容 IE9 及以下版本
这里的 history 和浏览器中的 history 有所不同,通过操作这些 API 来实现路由的保存等操作,但是这些 API 是 H5 中提出的,因此不兼容 IE9 以下版本。
HashRouter 使用的是 URL 的哈希值
我们可以理解为是锚点跳转,因为锚点跳转不会给服务器发请求但会保存历史记录,从而让 HashRouter 有了相关的前进后退操作,且不会将
#符号后面的内容请求。兼容性更好!
# 2 url 表现形式不一样
地址栏 或者说 path 表现形式不同
BrowserRouter的路径中没有 # ,例如: localhost:3000/demo/test
HashRouter 的路径中包含 # ,例如: localhost:3000/#/demo/test
# 3 刷新后路由 state 参数的影响
BrowserRouter 没有任何影响,因为 state 保存在history 对象中,刷新不会丢失
BrowserRouter 是用的是 H5 的 history API,state 保存在history 对象中,所以刷新不会丢失
HashRouter 刷新回导致路由 state 参数的丢失
由于HashRouter 没有使用 history API,所以没有 history对象。HashRouter 可以用于解决一些路径错误相关的问题。
备注:BrowserRouter 用的比较多,但不兼容 IE9 及以下版本
